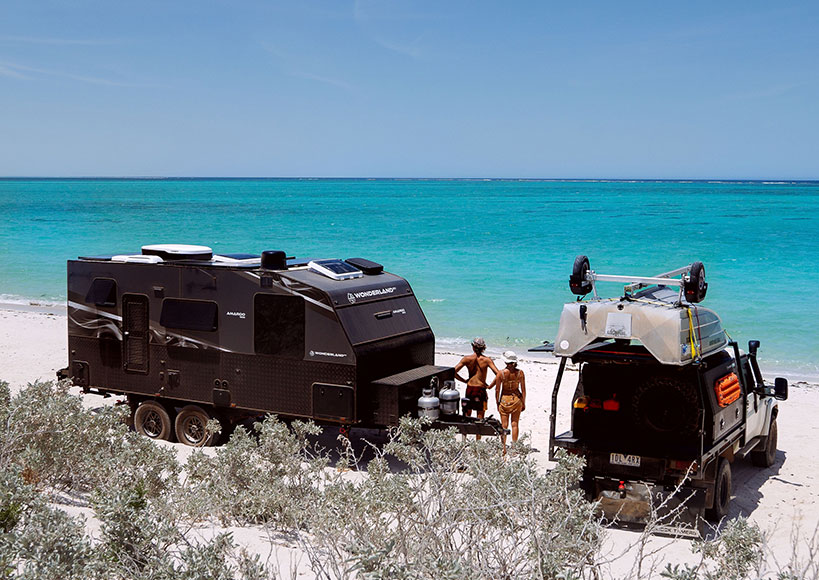
Being properly prepared for emergencies is a crucial part of safe and stress-free caravan camping. Even with regular caravan maintenance, unexpected issues like flat tyres, electrical faults, or mechanical failures can still occur. One of the most common issues on the road is a flat tyre - and knowing how to change a caravan tyre yourself can save you significant time, money, and hassle.
Having a quality set of tools and essential caravan spares on hand is the first step, but it’s equally important to know how to use them. In this guide, we walk you through the process of changing a caravan tyre, including safety tips and a list of recommended tools so you’re ready for anything.
Why It’s Important to Know How to Change a Caravan Tyre
Whether you’re touring remote areas of Australia or navigating regional highways, a flat tyre can quickly bring your trip to a halt. Waiting for roadside assistance in isolated areas can take hours—or might not be an option at all. Knowing how to perform a safe and efficient caravan tyre change gives you independence and peace of mind on the road.
Essential Tools for Changing a Caravan Tyre
Before heading off on your next trip, make sure your caravan is stocked with the following tools and equipment:
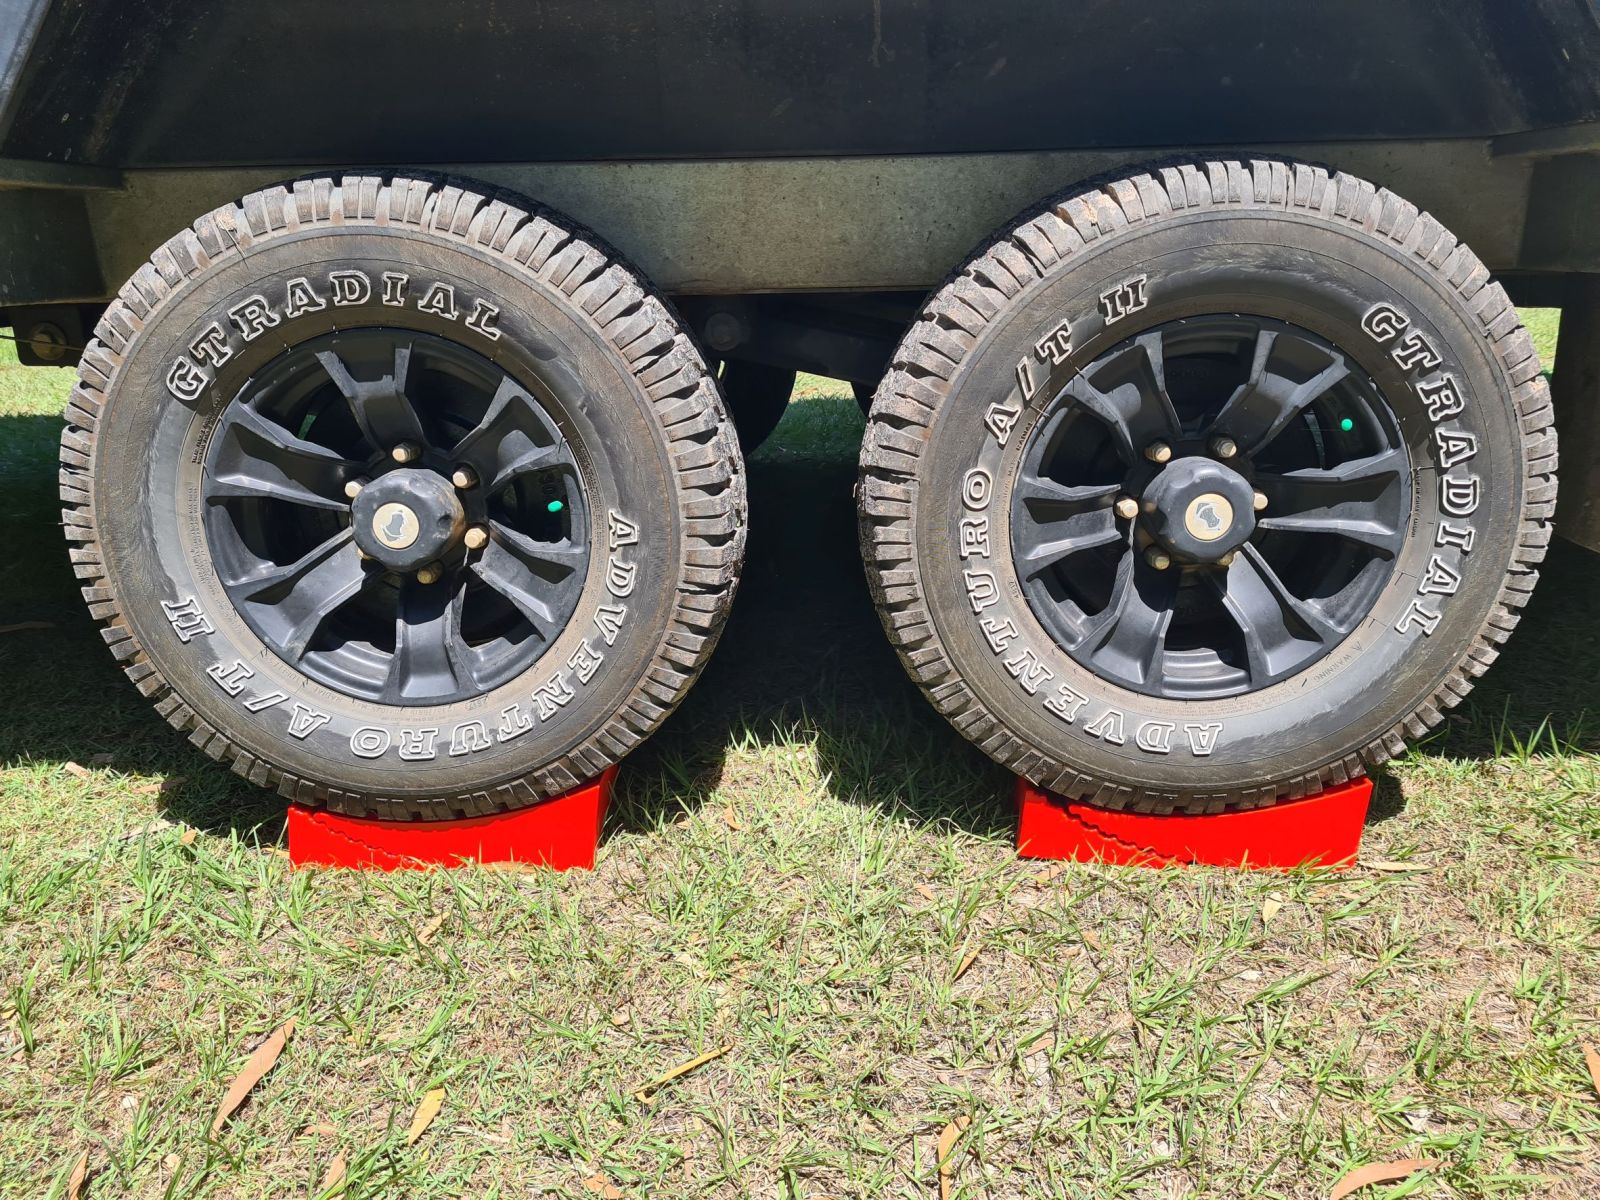
1. Spare Tyre
It goes without saying—but make sure your spare tyre is in good condition and properly inflated. A flat or damaged spare won’t be much help when you need it most. Check your spare tyre pressure regularly as part of your caravan maintenance checklist.
2. Caravan Jack
A caravan jack is essential for lifting your van safely when replacing a tyre. Because caravans are much heavier than regular vehicles, it’s crucial to use a jack that is both stable and designed for the job.
Look for a jack that complies with AS-NZS 2693 Vehicle Jack Safety Standards to ensure it can handle the weight and won’t compromise your safety. One highly recommended option is the Purpleline Kojack High Lift 4 Ton Jack, which can lift up to 750mm—ideal for caravans with high chassis or when extra clearance is needed. With multiple extension rods and robust construction, it’s designed specifically for caravanners and off-road use.
Important: Never go underneath your caravan while it is jacked up. Always follow the jack’s instruction guide carefully.
.jpg)
3. Wheel Chocks
Because caravans often override the handbrake due to automatic reversing systems, using wheel chocks is essential. They prevent the caravan from rolling while you’re working on it—avoiding damage, injury, or a runaway van.
4. Wheel Brace (Wrench)
Tyre nuts can be extremely tight, so you’ll need a good quality wheel brace—ideally with a telescopic handle to provide better leverage.
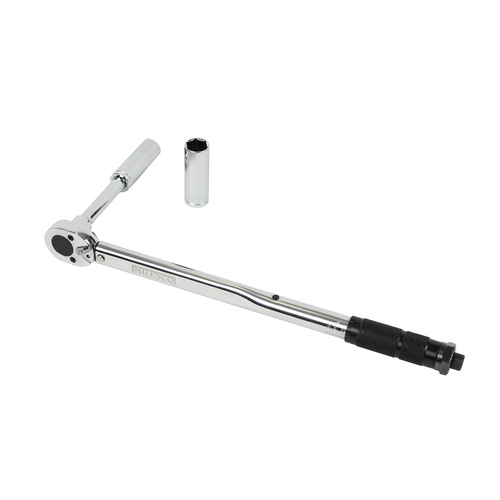
5. Torque Wrench
After fitting the spare tyre, a torque wrench ensures the wheel nuts are tightened to the manufacturer’s recommended settings. This step is essential for safety and long-term tyre performance.
Safety Tips: Pulling Over in an Emergency
Although changing a caravan tyre on the roadside is not ideal, sometimes you may not have a choice. If you’re forced to stop, follow these steps to stay safe:
-
Pull over to a safe area, such as an off-road shoulder, driveway, or alley. Avoid slopes and unstable ground. If you’re on private property, seek permission.
-
Ensure the caravan is parked on flat, solid ground—well away from moving traffic.
-
Turn on your hazard lights, even during the day.
-
Wear a high-visibility vest if you have one, especially in low-light conditions.
-
Use your wheel chocks immediately to stabilise the caravan before jacking.
Step-by-Step: How to Change a Caravan Tyre
Changing a caravan tyre follows a similar process to changing a car tyre, but due to the size and weight of caravans, extra caution is required.
Step 1: Loosen the Wheel Nuts
Before lifting the tyre off the ground, use your wheel brace to loosen each of the nuts slightly (do not fully remove them yet).
Step 2: Position and Use the Jack
Place your caravan jack under the caravan’s designated lifting point, as outlined in your owner’s manual. Slowly raise the caravan until the flat tyre is fully off the ground.
Step 3: Remove the Flat Tyre
Fully remove the loosened nuts and take off the flat tyre. Place it flat on the ground nearby.
Step 4: Fit the Spare Tyre
Align the spare tyre with the wheel hub and gently slide it into position. Replace the nuts and tighten them slightly in a diagonally opposed (criss-cross) pattern to ensure even tension.
Step 5: Lower the Caravan
Carefully lower the caravan using the jack until the tyre touches the ground and the van is fully supported.
Step 6: Final Tighten
Use your wheel brace to fully tighten the nuts, again in a diagonally opposed sequence. Then check the tightness with your torque wrench to confirm they meet the correct specification.
Step 7: Remove Wheel Chocks
Once the tyre is fully secure and the caravan is stable, remove your wheel chocks and pack away your tools.
Additional Caravan Maintenance Tips
-
Inspect tyres regularly for signs of wear, bulging, or cracking.
-
Check tyre pressure before each trip, including the spare.
-
Add tyre maintenance and safety checks to your pre-departure checklist.
-
Keep a toolkit, gloves, torch, and safety vest in your caravan at all times.
Need Help with Caravan Maintenance?
If you're unsure about any part of the tyre replacement process or want expert advice on the best caravan spares and tools to carry, don’t hesitate to get in touch. Our knowledgeable team is always happy to help with personalised caravan maintenance advice. Call us on 1800 787 278 for expert recommendations and assistance.
DISCLAIMER* Please note, this advice is general in nature and we strongly recommend consulting the product manual and where relevant, a professional installer.