


Best Sellers From This Category:
Caravan Gas Accessories – Reliable & High-Quality Products For Your Caravan
As Australia’s leading retailer for caravan and RV supplies, Caravan RV Camping offers a premium selection of Caravan Gas Accessories and Caravan Gas Appliances designed to enhance your outdoor adventures. Whether you're traveling off-grid or staying at a powered campsite, our high-quality gas products provide essential functionality and convenience. From cooking and heating to safety and efficiency, our range of caravan gas solutions ensures a seamless and comfortable journey.
Comprehensive Selection Of Caravan Gas Accessories
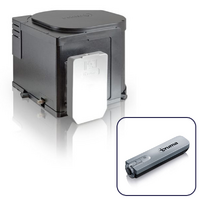
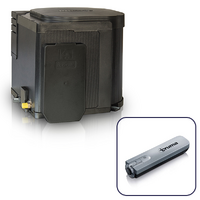
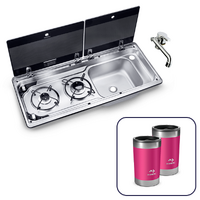
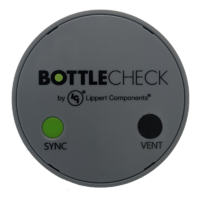
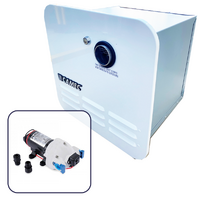
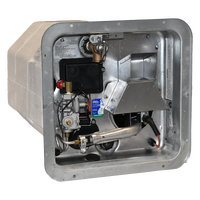
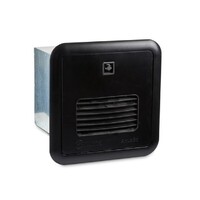
Our collection of Caravan Gas Accessories and Caravan Gas Appliances includes everything you need for safe and efficient gas usage in your caravan or RV. With trusted brands like Dometic, Truma, Camec, and Nautilus, we provide top-tier gas solutions that enhance your travel experience. Our range includes 3-way fridges for off-grid refrigeration, gas cylinder level checkers with LED indicators for safety, burner hot plates and combination stoves with sinks for convenient cooking, and gas detectors for added security. Additionally, we stock gas/electric hot water systems, slide-out kitchens for a streamlined setup, and Bluetooth gas gauges for real-time monitoring.
The Benefits Of Caravan Gas Accessories
Investing in quality Caravan Gas Accessories and Caravan Gas Appliances significantly improves your travel experience. Reliable gas appliances ensure you can cook, heat water, and keep your food fresh no matter where you are. Whether you're enjoying remote camping spots or setting up at a caravan park, gas-powered solutions offer efficiency and independence.
Features That Enhance Your Caravanning Experience
Our Caravan Gas Accessories and Caravan Gas Appliances are designed with innovation and durability in mind. Perfect for off-grid adventures, these products ensure you have essential utilities without relying on traditional electricity. Built for longevity, they offer excellent performance in various conditions. User-friendly designs mean setup and operation are simple, while space-saving features ensure your caravan remains clutter-free.
Your One-Stop Shop For Caravan Gas Accessories
At Caravan RV Camping, we pride ourselves on being the ultimate destination for Caravan Gas Accessories and Caravan Gas Appliances. Our online store offers an extensive selection of high-quality products, backed by expert advice and outstanding customer service. Whether you're upgrading your existing setup or starting fresh, our range ensures you have everything you need for a comfortable and hassle-free adventure.
Explore our collection online today and for expert advice, call our friendly team on 1800 787 278.
Caravan Gas Products & Parts FAQs:
-
1. How often do I need to service my Dometic RV/Caravan appliances?
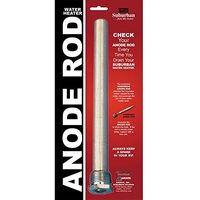
Dometic recommends servicing their gas appliances on a yearly basis, even if the vehicle has not been used. Additionally, bear in mind that insects can build nests in the gas appliances which will cause the appliances to stop working. It can also cause potentially dangerous scenarios.
For other appliances, such as refrigerators and air conditioners, to ensure the appliances work efficiently and last longer it is recommended to clean the condenser.
-
2. I want to run my absorption on a 12V power source, is this ok?
An absorption 3-way fridge is designed to be run on gas as a power source. This means that gas will be the most efficient power source.
It is only recommended to use the 12-volt setting on an absorption fridge when the vehicle is running. Otherwise, the 12-volt can exhaust the power source (the battery) very fast. It is important to remember this when you have parked and turned off your vehicle!
-
3. What is the main difference between UES and AES?
Universal Energy Selection (UES), can operate both in auto or manual selection mode. Basically has both functions of Automatic Energy Selection (AES) and Manual Energy Selection (MES) in one. The user can select if they want auto or not.
AES, operates in auto selection only, does not have a manual mode apart from gas operation with the AES function turned off.